Custom Longitude & Latitude Old Fashioned Glasses 6
Introduction
Custom geocoding is a technique used to assign latitude and longitude coordinates to locations so Tableau can plot them accurately on a map. Geocoding is of cracking use for many industries, including transportation and logistics companies. These businesses often divide customers into geographical zones for sales, delivery, marketing, and client service perspectives. Geocoding is also used for analytical policing purposes in which intelligence agencies go along tabs on criminal offense sensitive locations using geographical coordinates.
In this guide, yous volition learn how to practice custom geocoding in Tableau.
Data
To incorporate geocoding in Tableau, you need data containing a listing of geographic data points, for example, any country with its respective states, cities, or counties. You also need the respective coordinates, that is, latitude and longitude.
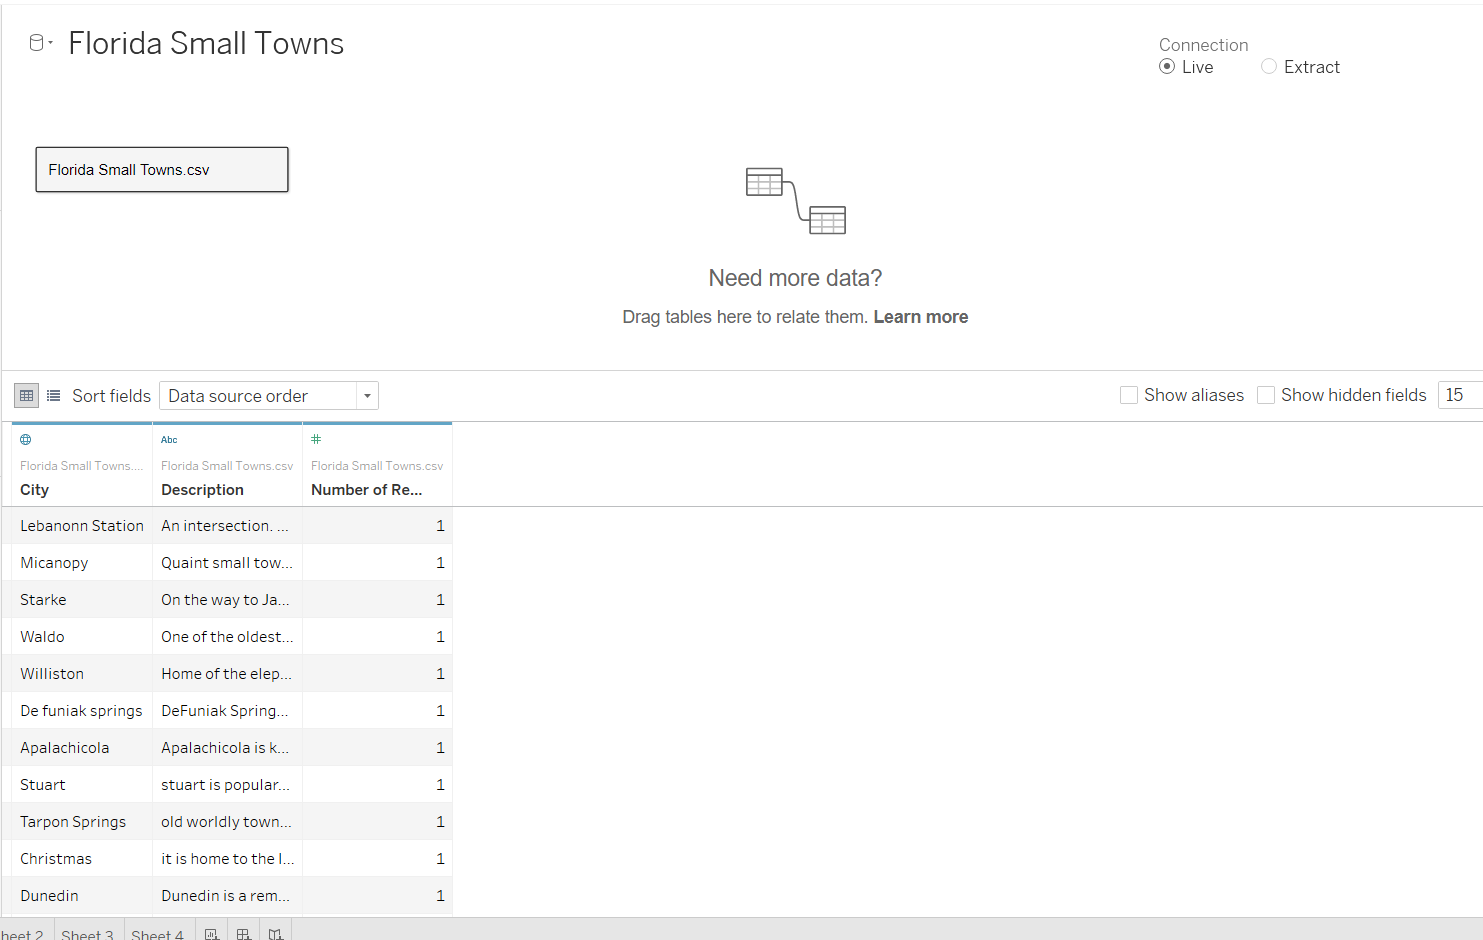
In this guide, you will use two fictitious datasets. The outset, named Florida Small Towns, consists of 15 records with variables City and Description .
The second dataset, named Florida Latitude and Longitude, consists of 15 records with five variables: Country , City , Country , Latitude , and Longitude .
Getting Started
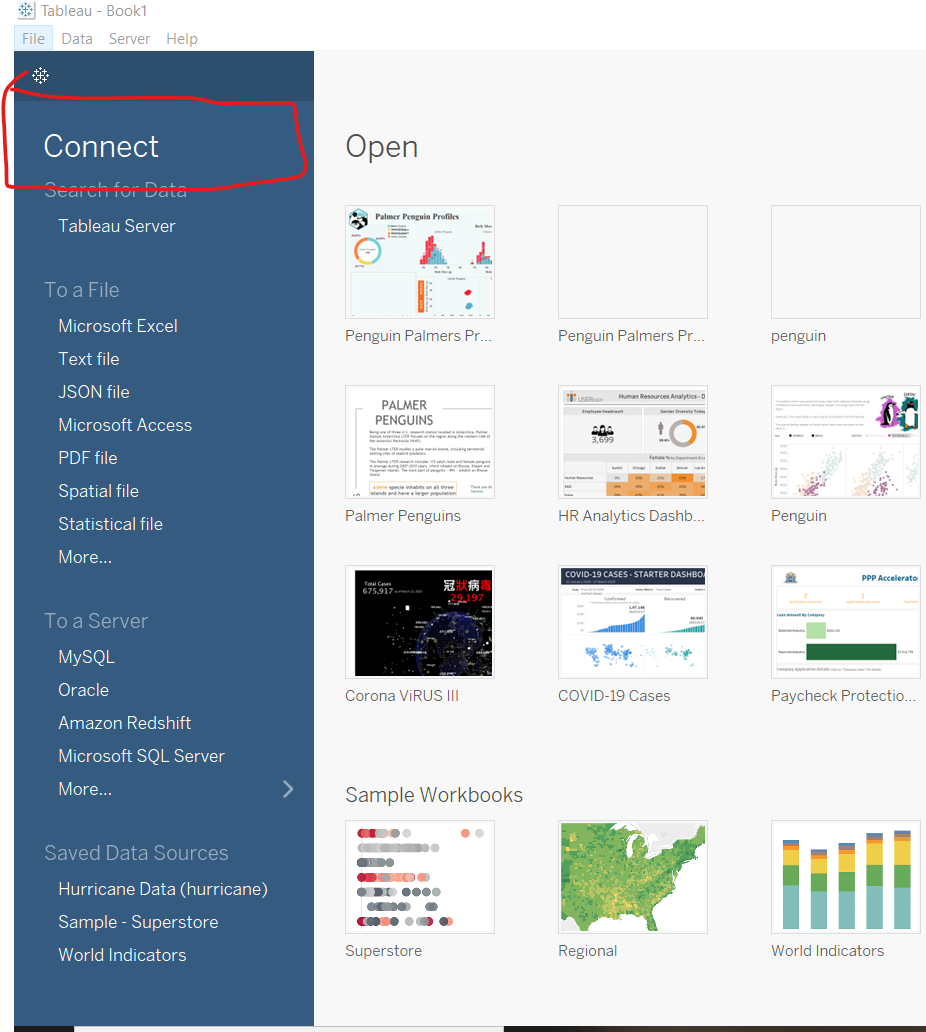
The first step is to load the data into Tableau. To begin, open the Tableau desktop and look at the Connect pane.
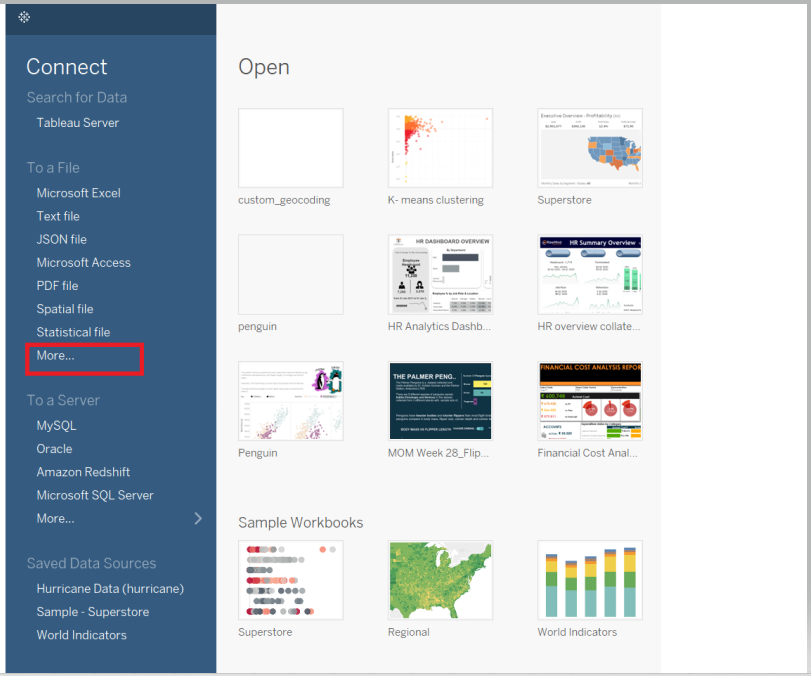
Select More from the To a File option.
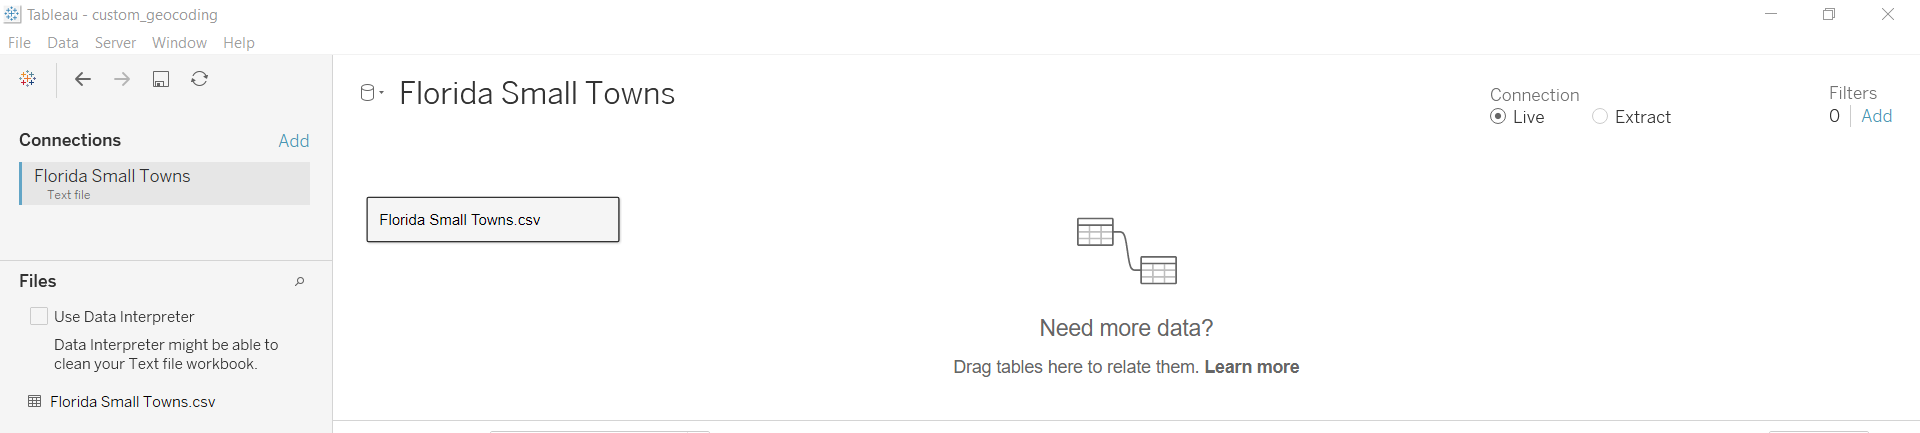
The higher up footstep will create an option for yous to select the file from your arrangement location. Now, drag the Florida Small Towns file into the canvass.
The lower one-half of the canvass provides the data grid, which can be used to view the data.
Exploring Information
The side by side footstep is to open the canvass. Yous can see below that the variable Metropolis is in the Dimensions function of the pane, while the coordinates, the latitude and longitude, are in the Measures section.
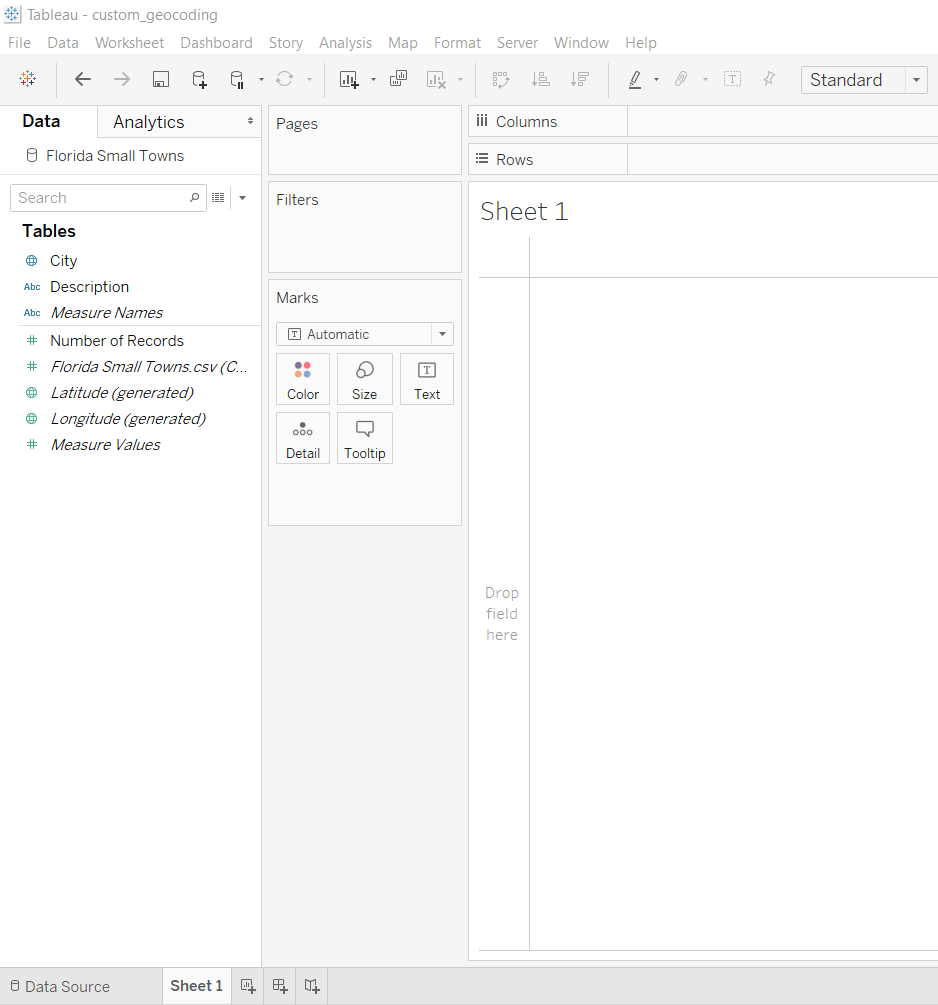
Elevate City into the Item bill of fare of the Marks pane. This should automatically plot the detected breadth and longitude in the view. Another option is to drag Longitude into the Columns shelf and Latitude in the Rows shelf.
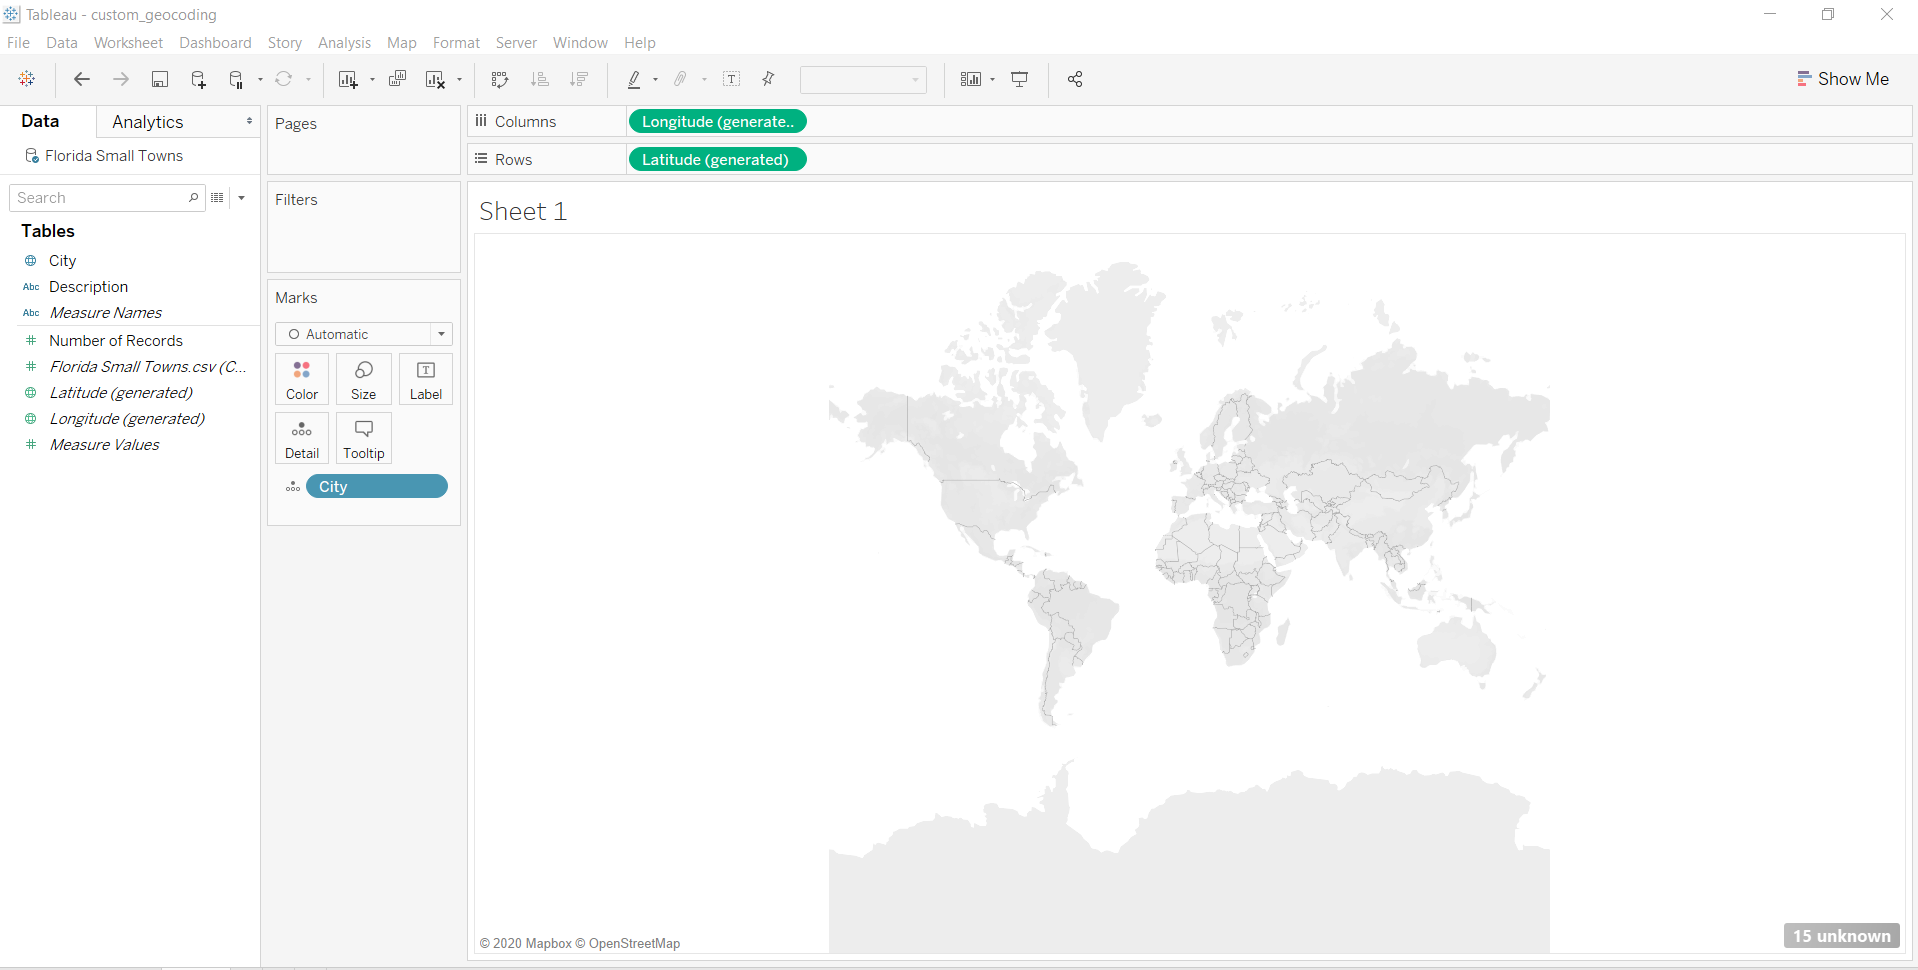
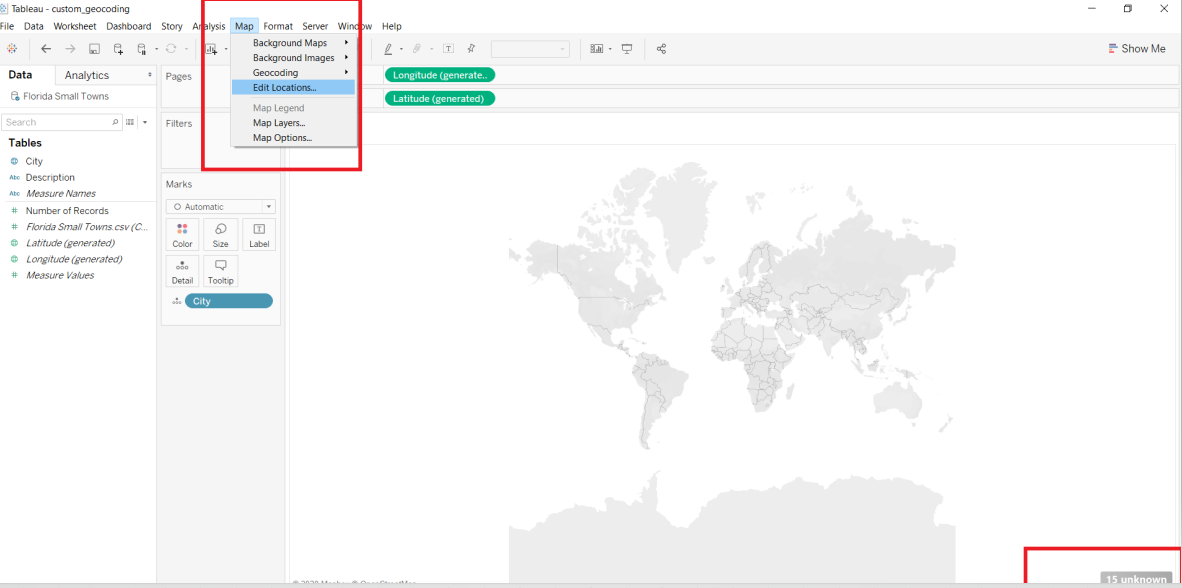
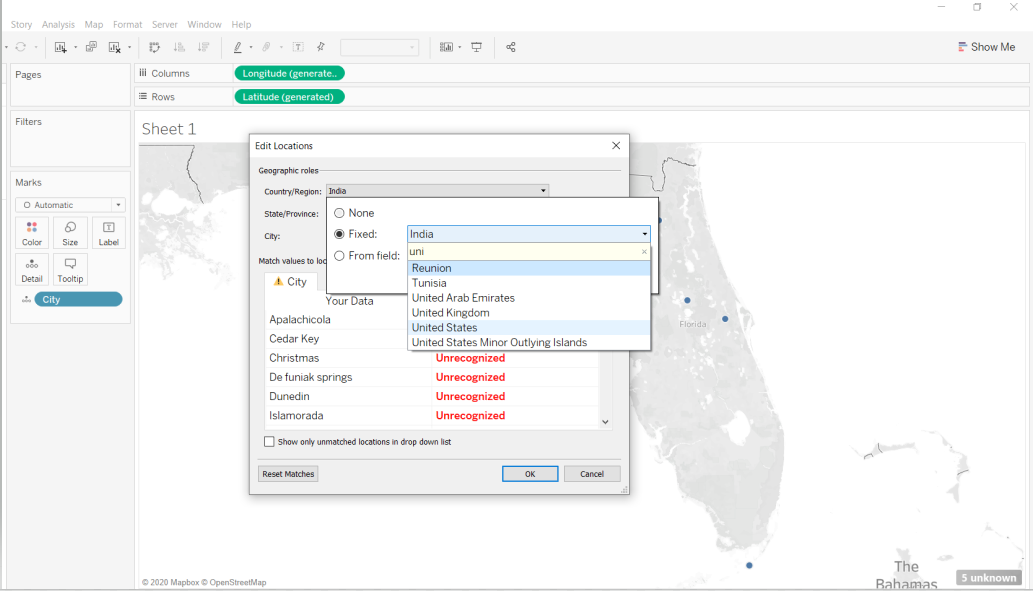
Y'all would expect the locations to exist plotted, but that'due south not the instance, as seen to a higher place. This is too highlighted with the message "15 unknown," shown at the extreme right bottom in the view. To sympathise this further, get to the Map menu in the toolbar section and select Edit Locations.
That will generate the post-obit tab.
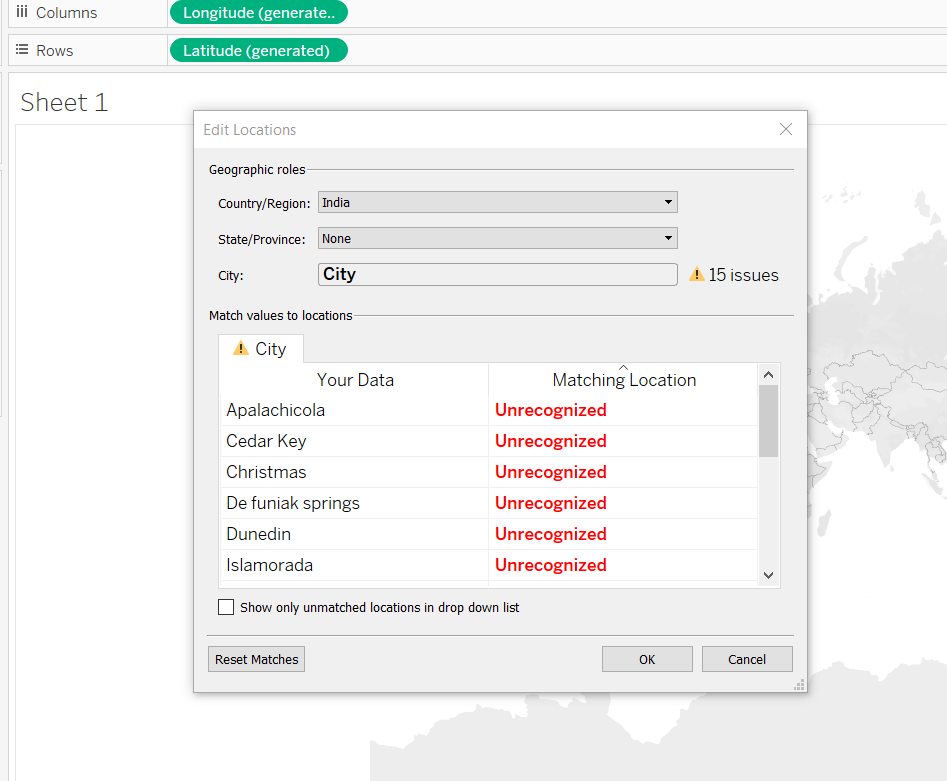
In the to a higher place output, you lot can come across that the Country/Region selected is India. This is incorrect as nosotros are looking for locations in Florida. Yous will have to fix this.
Fixing Issues with Maps
To fix the incorrect location, select the drop-down option, select United States, and click OK.
This will reduce the unknown locations from fifteen to five. Go back to the Edit Locations option as explained above, and check for places where Tableau is not able to plot. This is shown beneath.
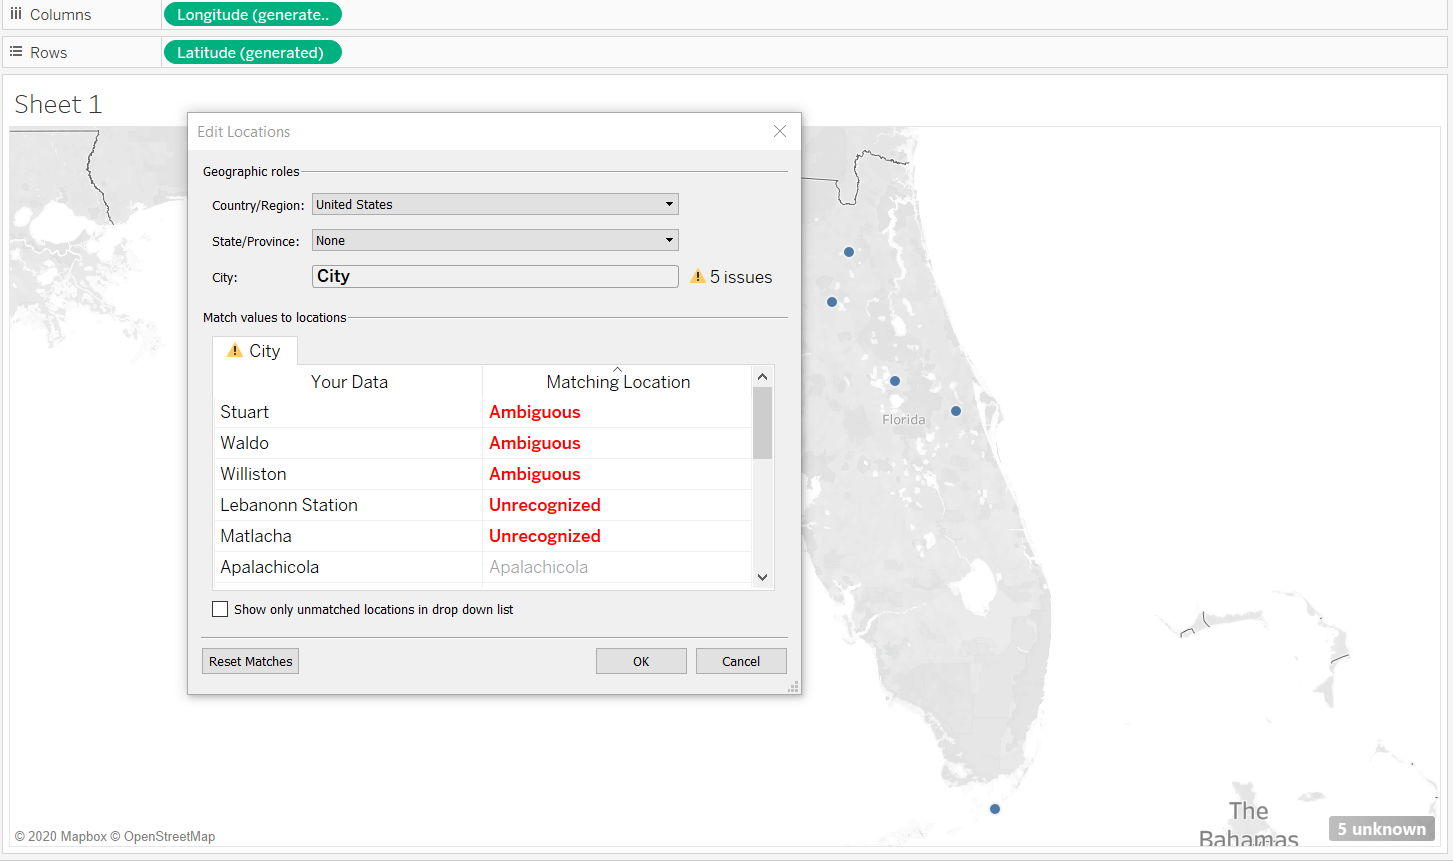
The output above shows that the locations Stuart, Waldo, and Williston are Ambiguous, while the other two locations, Lebanon Station and Matlacha, are not recognized by Tableau.
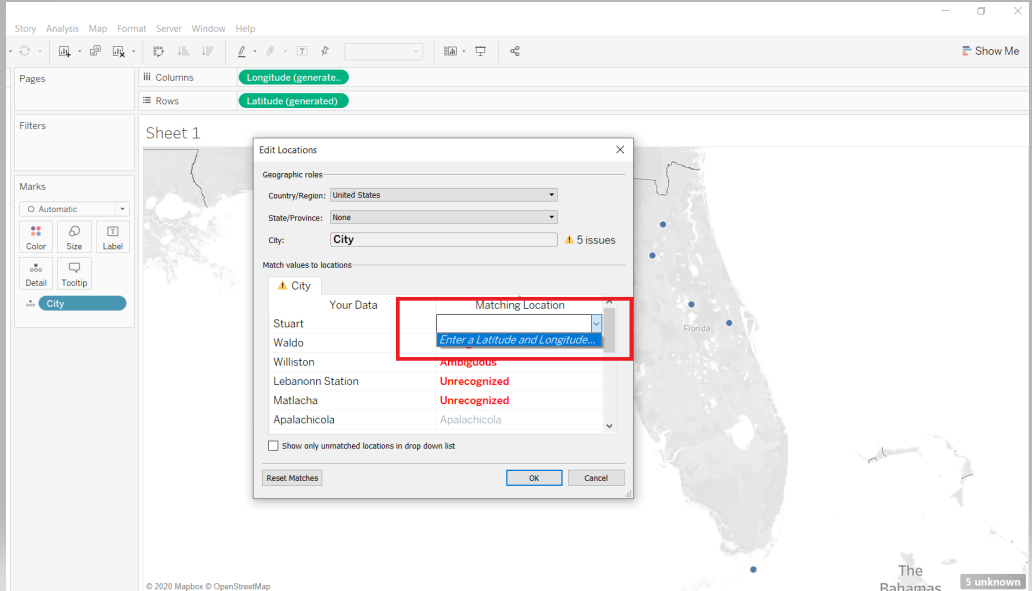
In that location are two methods to fix this.
- Manually enter latitude and longitude details. This is feasible in scenarios where few corrections are required.
- Import a CSV file with all the names of cities forth with their latitudes and longitudes. This is feasible in scenarios where several missing coordinates are present.
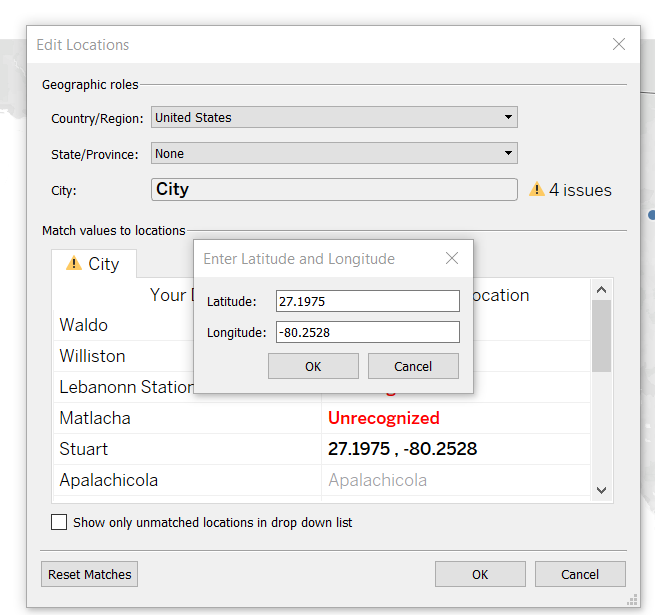
Let'south look at each of these solutions. For manual entry, go dorsum to the Edit Locations pick. Side by side, click on Enter a Latitude and Longitude pick, every bit shown beneath.
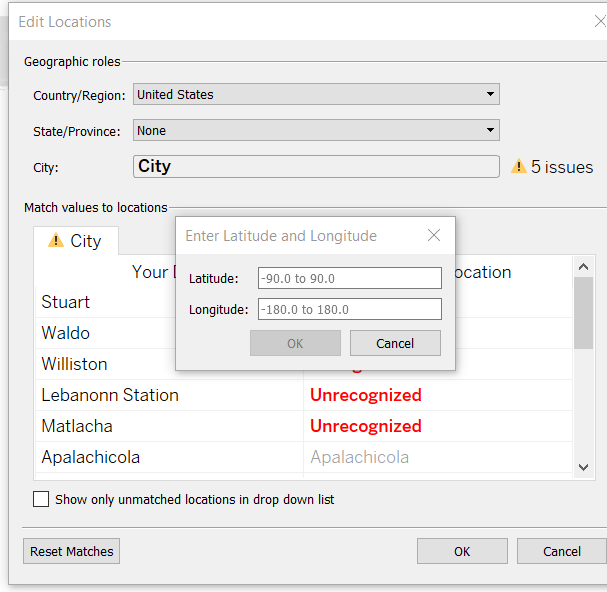
Enter the correct coordinates as shown below and click OK.
Mail service the higher up correction. There are now four locations that are unknown. You can right these manually, but you volition accept to use the second arroyo of importing the CSV file with the correct coordinates.
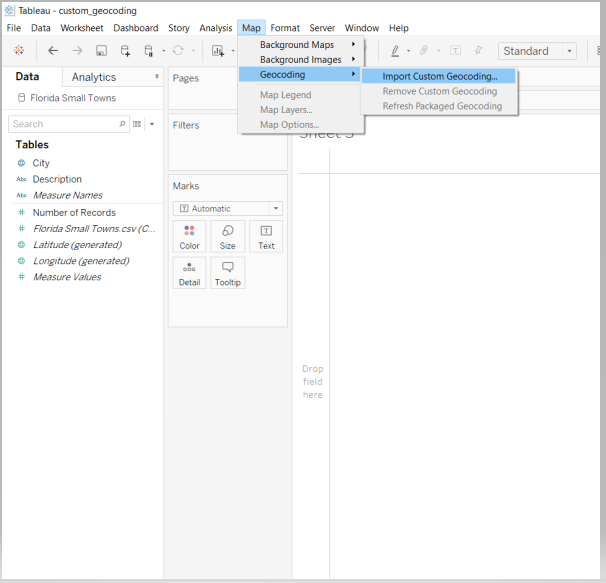
To implement this, create a new sheet and go to the Map option in the toolbar. Select the pick Geocoding, followed by Import Custom Geocoding.
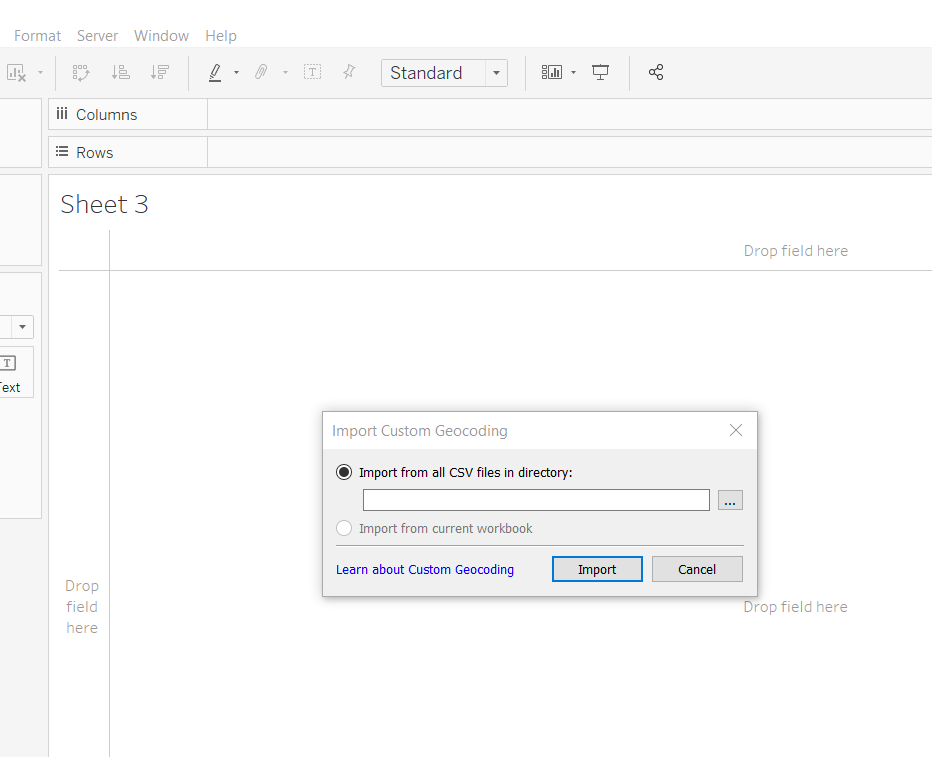
Next, scan the CSV file containing the coordinates of latitude and longitude in your system. This data is in the file named Florida Latitude and Longitude, which was discussed in the beginning.
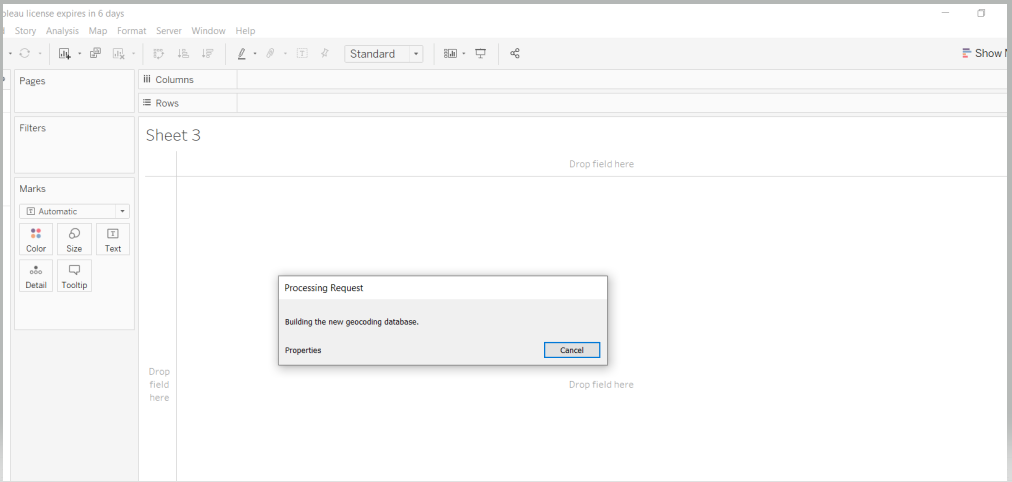
The post-obit output is displayed while the file is loaded.
Once the file is loaded, drag the Metropolis column into the Detail card of the Marks pane.
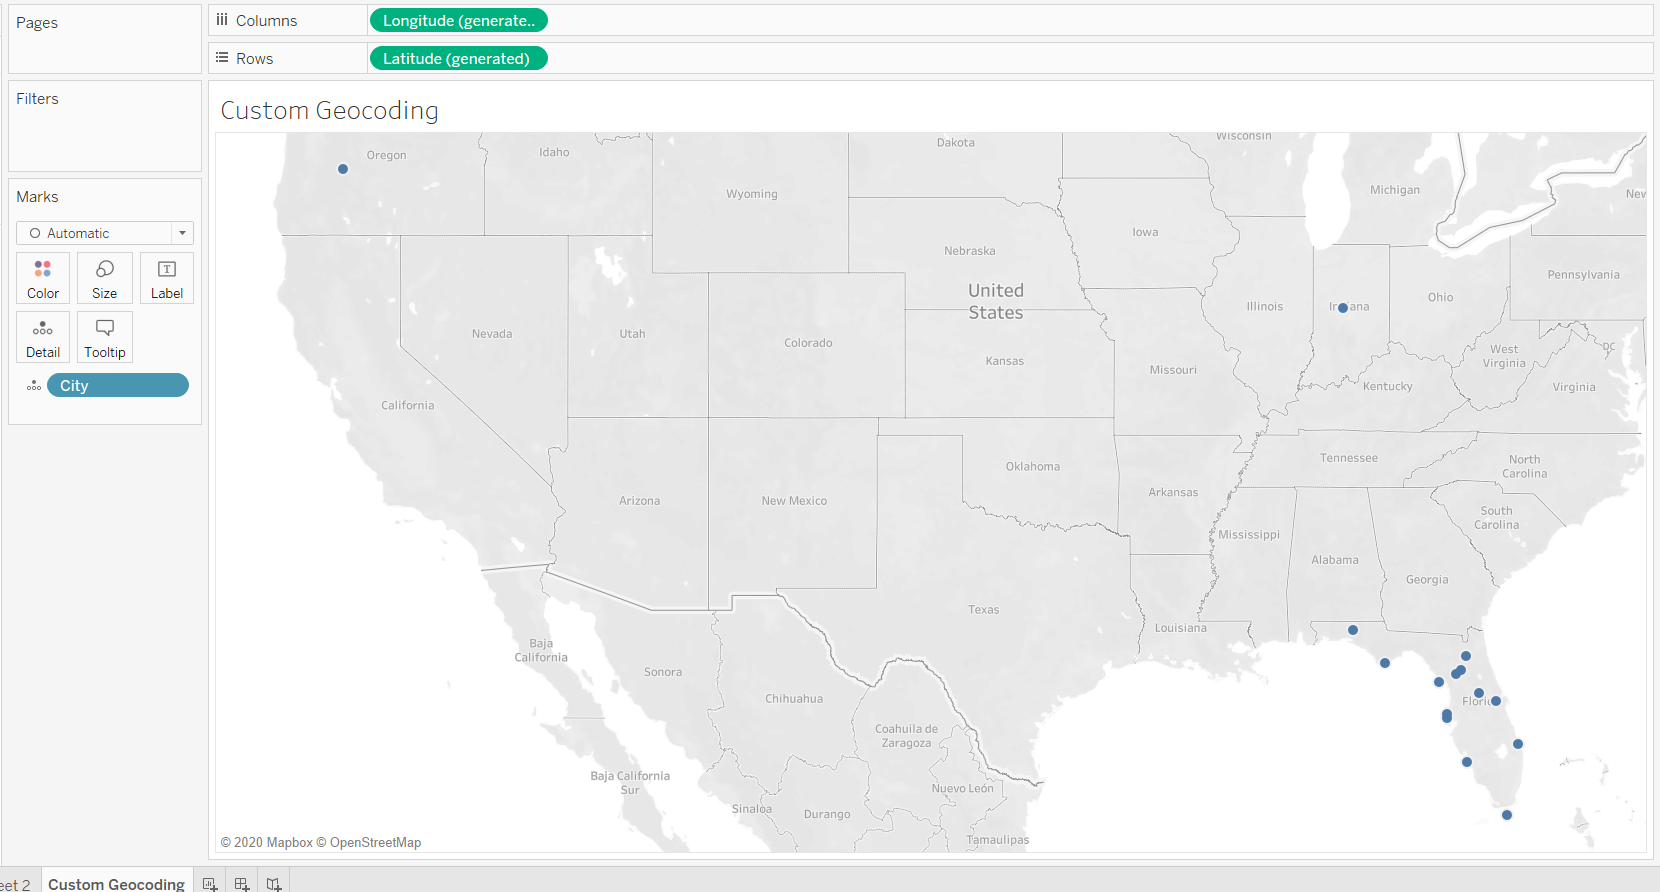
Yous tin run into that the final output above has all the locations with zero unknowns.
Conclusion
In this guide, yous learned how to utilize custom geocoding in Tableau. You besides learned how to manually assign breadth and longitude coordinates in case of missing locations. This volition strengthen your skills in dealing with spatial data.
To learn more than about visualization and data analysis using Tableau, please refer to the following guides:
0 Response to "Custom Longitude & Latitude Old Fashioned Glasses 6"
Post a Comment